How To Build a Home Studio For Cheap
Visualize What You Want To Do
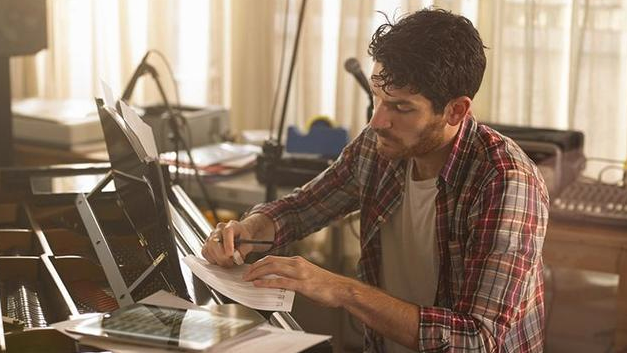
First off, you need to visualize what kind of music you want to work on. Do you want to record your guitar playing? Will your music have vocals? Are you going to focus strictly on making beats? Developing a general idea of what kind of music you want to work on will help you figure out how to invest intelligently in your home studio. At the same time, keep an open mind; you don’t want to limit your exposure to unexpected influences.
Make a Dedicated Space
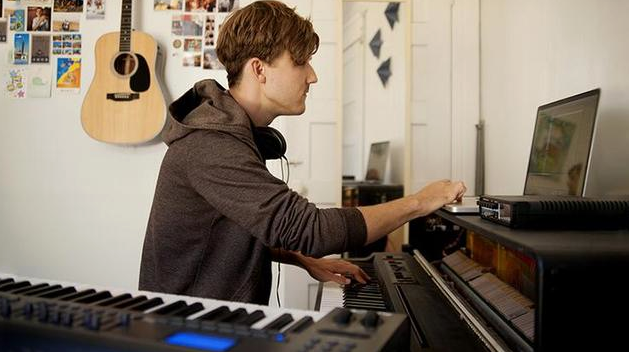
Once you’ve got an idea of your style, pick a space to dedicate to music. You probably already have a desk you use on the regular— appropriate it for creativity! You can always move your gear out of the way if you need to. The more space you have solely for music, the easier it is to stay organized and focused.
Use Your Computer
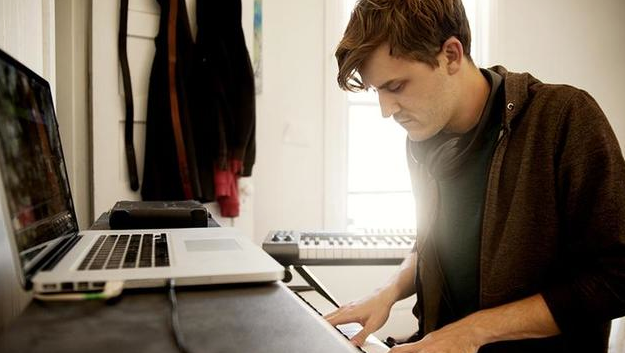
Almost all studios are centered around a computer nowadays. Use it as the central brain of your home studio. If you don’t have one, this is the No. 1 piece of equipment that will make recording easier for you. Tablets and even smart phones can act as good scratch pads for ideas, but if you really want your work to sound like a finished product, you’ll need the processing power of a computer.
Set Up Your DAW (And Soft Synths)
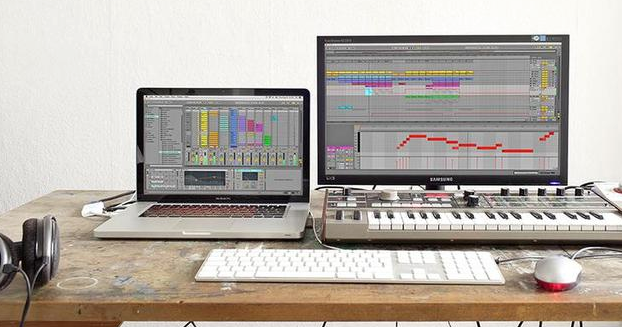
Now we’re getting into the actual software. Music is made on recording software called Digital Audio Workstations, or DAWs. There are tons of options out there depending on what you want to make. Popular industry standards include Pro-Tools and Logic, both are great. If you want to make live, electronic-oriented music with your computer then Ableton Live is the way to go. Cheaper or free alternatives also include Garageband (it’s like the basic version of Logic) and Fruity Loops (sample-friendly like Ableton, only less powerful). Also, make sure to download as many software synthesizers (commonly called “soft synths”) as you can— there are thousands out there and some free and very cheap ones are readily available.
Get An Audio Interface
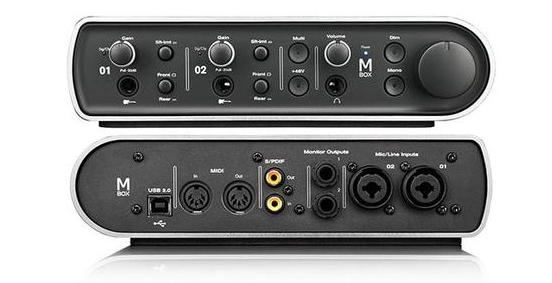
Once you’ve got your DAW figured out, you’re gonna need an audio interface. An audio interface allows you to record high-quality audio into your computer and DAW, as well as send audio out to speakers or headphones. There are plenty of inexpensive options out there, arguably the most popular being the M-Box, but Focusrite, and PreSonus. Music Radar is a good source for reviews, as is Sound on Sound, the latter with some great guides on home recording.
Get Monitors
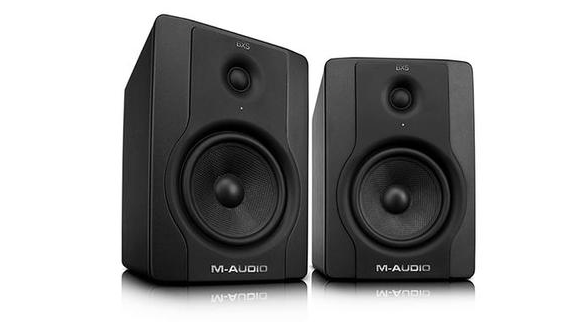
Once you’ve got your laptop, software, and audio interface set up, you’ll need some monitors. This is very important: studio monitors are different than speakers. Speakers color or highlight the sound to make it more pleasing to the listener, whereas monitors give you “truer” audio. You can get by with some pretty inexpensive small monitors (all the better if you’re worried about bothering roommates or neighbors). We recommend starting off with M-Audio BX5-D2’s or KRK RP5’s, though the smaller, cheaper M-Audio monitors work in a pinch.
Get Studio Headphones
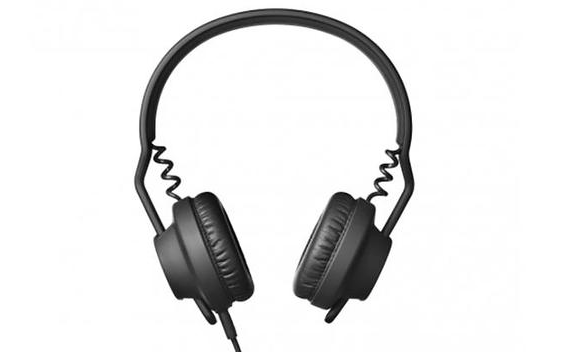
At some point you’ll be feverishly working on a song late into the night and you’ll need to switch off your monitors. Or maybe you want to make sure your tunes sound good on headphones. Either way, a good pair of over-ear studio headphones are your best friend in a home studio. Beyerdynamic, Aiaiai, Sennheiser, and Audio-Technica all make awesome headphones for the money.
Find The Right Keyboard
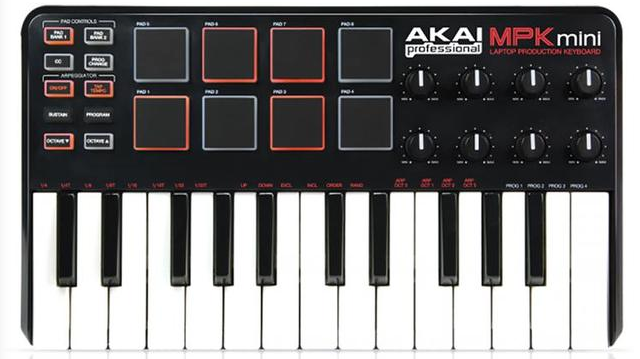
Finding the right USB controller can be immensely helpful to your workflow. Nowadays, there are plenty of highly-versatile, portable keyboards that you can take anywhere you take your laptop and won’t cost an arm and a leg either. For the most basic, go for the M-Audio Keystation Mini, for something with a little more versatility try the Akai MPK Mini, and for a highly-customizable controller go with the Arturia MiniLab. There are also plenty of non-keyboard controllers like the Launchpad and NanoPad. - repost from pepsi

comments powered by Disqus
Home, Artists, Producers, Dimes, Store, Power Players, Mixtapes, Music Videos, Studios, Links, News, Events, DMV Radio, Clubs, Music Tips, Donate, Instagram Post, Soundcloud Repost, Email Blast, Advertising, iPhone App, Android App, Testimonials, Photography, Videography, Interviews, Get Interviewed, Submit, Services, Information


